
How to fix Resolution Problem in Windows 10?
Screen resolution alludes to the clearness of the content and pictures showed on your screen. At higher resolution, for example, 1600 x 1200 pixels, things seem keener. They likewise seem littler so more things can fit on the screen. At lower resolution, for example, 800 x 600 pixels, fewer things fit on the screen, however, they seem bigger.
It is essential to have the right screen resolution settings on your Windows PC as it encourages better presentation of substance and the lucidity of pictures. Higher is the resolution, more keens are the pictures and substance on your PC. While, Windows, notwithstanding, has its own set default scaling settings and hues for each showcase in your PC, which are generally the best for your framework, you can generally modify it as indicated by your very own inclinations.
The resolution you can utilize relies upon the resolution your screen bolsters. CRT screens, for the most part, show a goal of 800 × 600 or 1024 × 768 pixels and can function admirably at various resolution. LCD screens additionally called level board showcases, and PC screens frequently bolster higher resolution and work best at an explicit goal.
The bigger the screen, as a rule, the higher the resolution it bolsters. Regardless of whether you can build your screen resolution relies upon the size and ability of your screen and the kind of video card you have.
To change your screen resolution How to fix Resolution Problem in Windows 10?
Open Screen Resolution by tapping the Start catch The Start catch, clicking Control Panel, and afterwards, under Appearance and Personalization, clicking Adjust screen resolution.
Tap the drop-down rundown beside Resolution, move the slider to the resolution you need, and after that click Apply.
click Keep to utilize the new resolution or click Revert to return to the past resolution.
Local resolution
LCD screens, including workstation screens, regularly run best at their local resolution. You don’t need to set your screen to keep running at this resolution, yet it’s normally prescribed so as to guarantee you see the most honed content and pictures conceivable. LCD screens by and large come in two shapes: a standard extent of width to tallness of 4:3, or a widescreen proportion of 16:9 or 16:10. A widescreen screen has both a more extensive shape and resolution than a standard proportion screen.
In case you’re uncertain of your screen’s local resolution, check the item manually or go to the producer’s site. Here are run of the mill resolution for some mainstream screen sizes:
19-inch screen (standard proportion): 1280 x 1024 pixels
20-inch screen (standard proportion): 1600 x 1200 pixels
22-inch screen (widescreen): 1680 x 1050 pixels
24-inch screen (widescreen): 1900 x 1200 pixels
When you change the screen resolution, it influences all clients who sign on to the PC.
When you set your screen to screen resolution that it can’t bolster, the screen will go dark for a couple of moments while the screen returns to the first resolution.
Various clients have announced Windows 10 screen resolution issues in a previous couple of months. Another regular issue is Windows 10 extended screen issue in which pixels look broken and the picture looks extended towards agree with content misshaped. Luckily, you can settle the Windows 10 extended screen issue and Windows 10 resolution issues by applying for basic advances.
More often than not the Windows 10 extended screen issue happens as a result of some arbitrary key hits. You can settle this issue by reestablishing the first suggested pixel show settings.
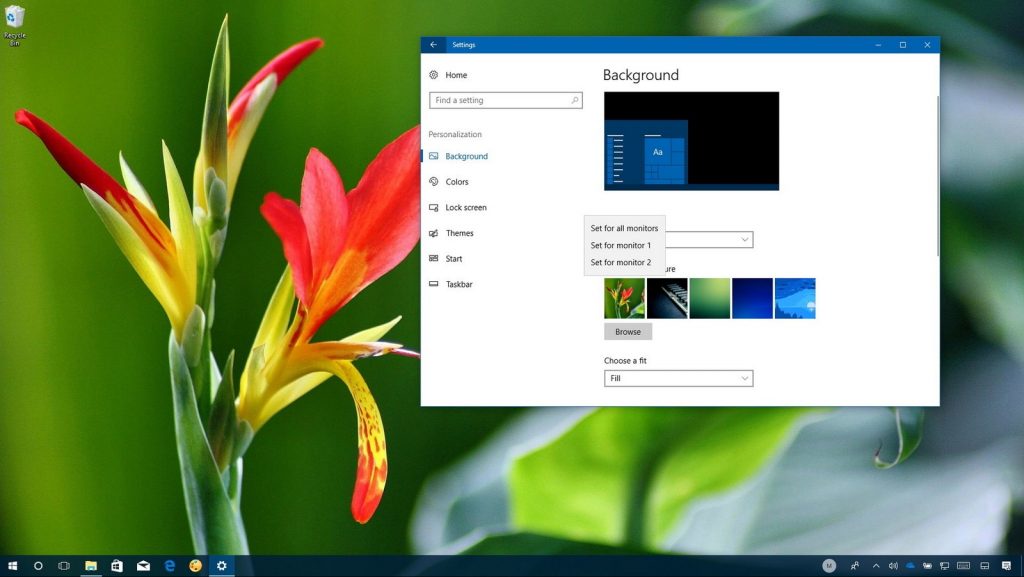
From Display Settings
Right tap on the Desktop and Click on Display Settings.
Presently tap on “Cutting edge Settings” catch and select the pixel resolution to the “prescribed” settings. For the most part, it is set as 1366*768. Be that as it may, you can likewise get a decent goal at 1260*768. Anything beneath this would twist the picture and content and pictures would look broke, contorted and fluffy.
Utilizing Fn Key
Another incredible method to settle the Windows 10 extended screen issue is by utilizing the Function key (Fn).
Hold the Function key(Fn) from your console and press the space bar.
Presently utilize the space bar to change and set the ordinary setting as indicated by your decision.
Utilizing Slider
You can likewise set the pixel settings by utilizing the slider from the settings segment. And also can discover this slider by heading off to similar settings territory from Display Settings.
Just move the slider and set the resolution, which suits you best. For the most part, 100% is prescribed.
Tap on Start catch in Windows 10 from the base left corner and type “Change Screen Resolution” and hit Enter.
Presently tap on “Cutting edge Sizing of Text..” catch from the middle
Presently tap on Adjust Resolution from the left alternatives sheet
Presently tap on Advanced settings catch from the inside.
Tap on the “Rundown all modes” catch. How to fix Resolution Problem in Windows 10?
You will presently observe a rundown of various frequencies. Select the one which matches with your resolution (for instance 1366*780 or 1280*780) with 60Hz revive rate.
Click Ok and Apply the settings. How to fix Resolution Problem in Windows 10?
How to fix Resolution Problem in Windows 10?
You will see a transient dark screen and the following thing you see will be the sharp flawless screen. How to fix Resolution Problem in Windows 10?
This is the means by which to settle extended screen Windows 10 issue. This technique additionally settles the screen resolution issue in Windows 10.
Here we have some similar articles: